New Bike Instructions
Welcome to the Frog family! Congratulations on choosing a Frog bike, the
perfect companion for your child's cycling adventures.
At Frog Bikes, we take immense pride in our commitment to creating exceptional bicycles that are not only fun to ride but also safe and durable. Our journey began with a vision to provide children with bikes that are thoughtfully designed, and today, we are delighted to welcome you into our family.
To get started on your cycling journey, we recommend following the simple steps outlined below. And don't forget to register your bike for the extended 10-year warranty, providing you with peace of mind and confidence in the quality of your new Frog bike.
We look forward to being a part of your child's cycling adventures for years to come!
Happy riding!
Jerry & Shelley Lawson
Co-founders of Frog Bikes
Let's get your new Frog bike ready to ride!

Tools supplied
- 5mm allen key
- 15mm spanner

Time to build
- 10 - 15 minutes
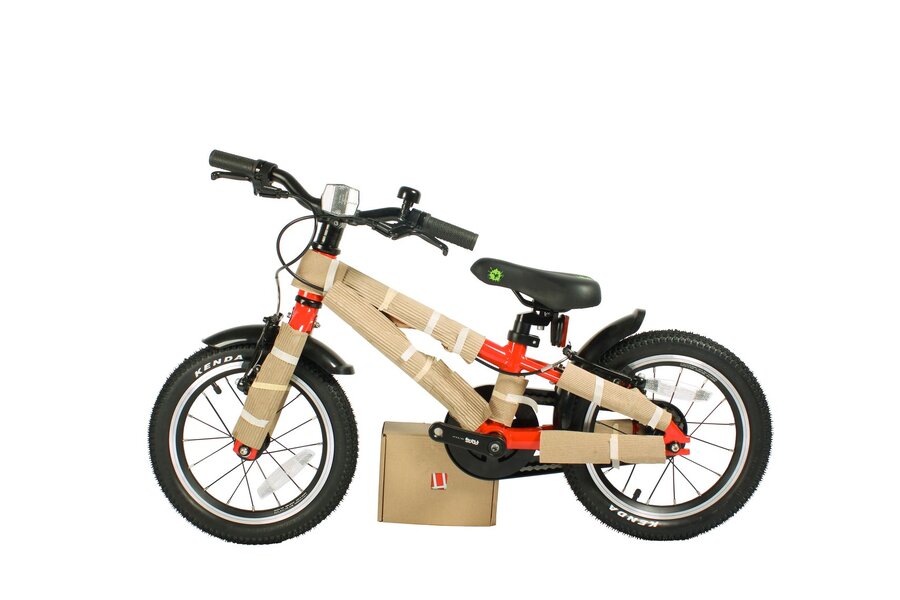
1: Unbox your new bike
Unboxing your new bike is an exciting moment. Carefully open the
box and remove your new bike, taking care not to scratch or
damage it.
Please check with your local authority on how to recycle the packaging responsibly. Let's contribute to keeping our planet green and clean.
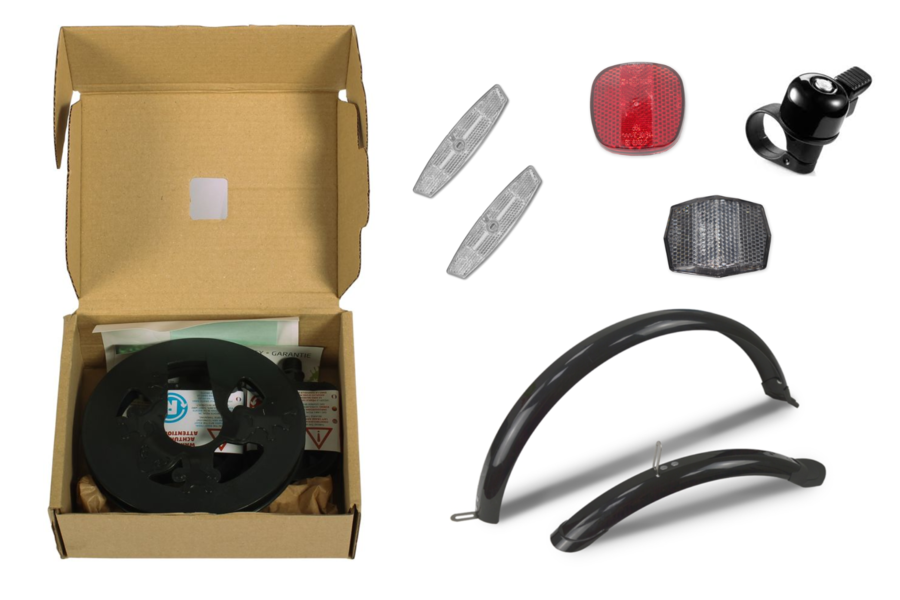
2: Check and install your accessories
Check the contents of the box for your new bike accessories, such as reflectors, a bell, or mudguards, as specified in the product documentation. Fit them to your new bike using the brackets, screws and attachments provided. For additional help with attaching mudguards to your Frog bike please view the manuals here >>
3: Align and tighten the handlebars
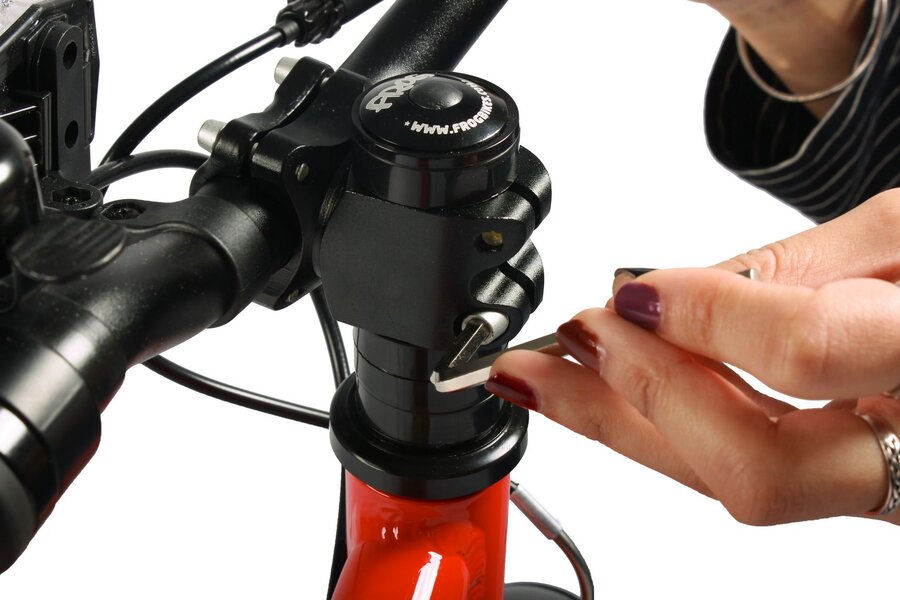
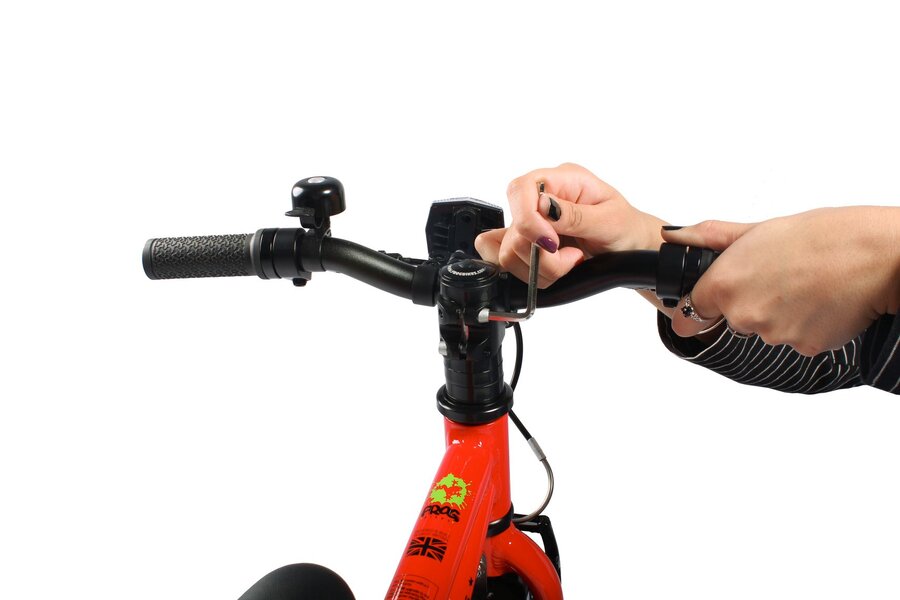
Before you hit the road, pavements, or trails, make sure that the handlebars have been turned and are perfectly straight, before tightening. This ensures precise steering and stability during rides.
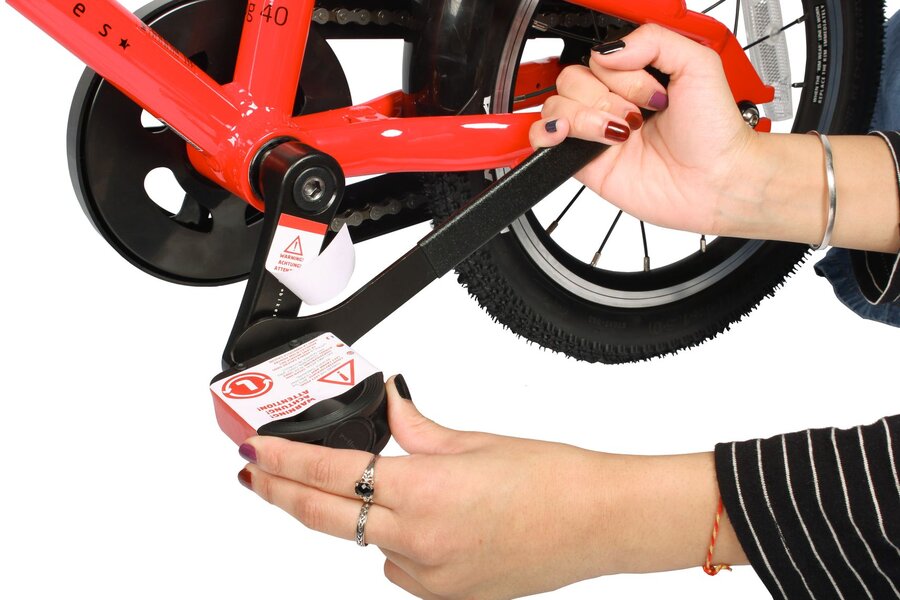
4: Attach the pedals
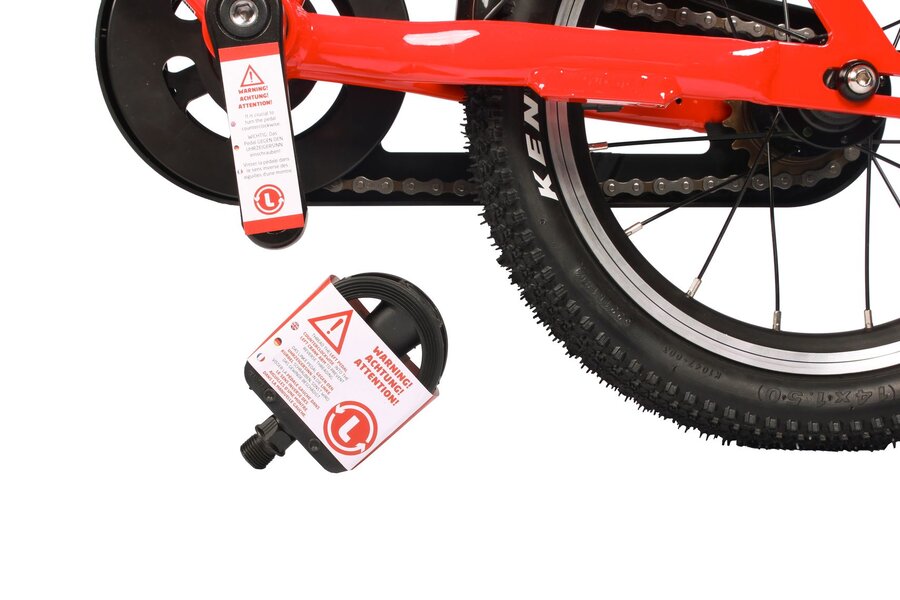
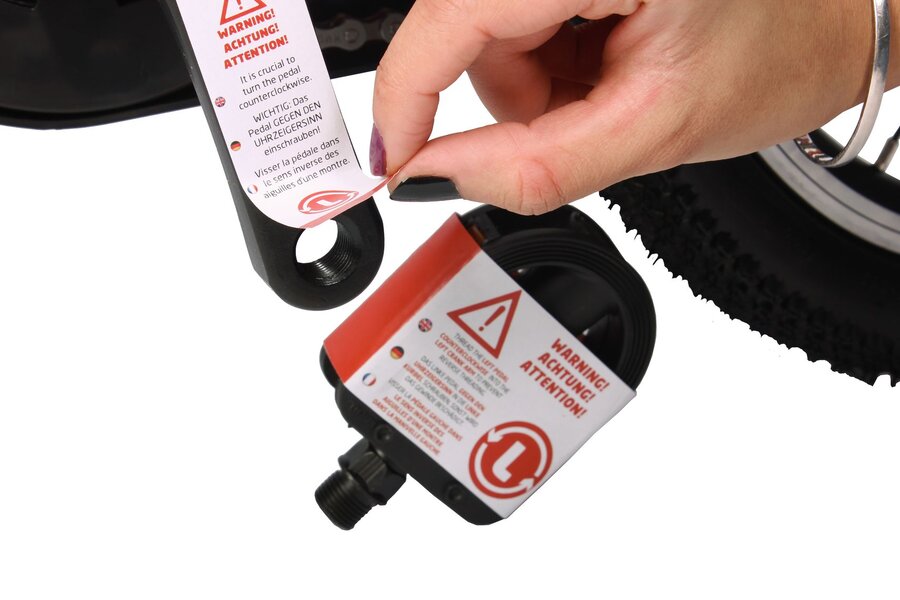
Attach the pedals to the bike, ensuring you match the left pedal with the left crank and the right pedal with the right crank. It is crucial that the pedals are in the correct crank and threaded the correct way to avoid damaging the pedal threads.
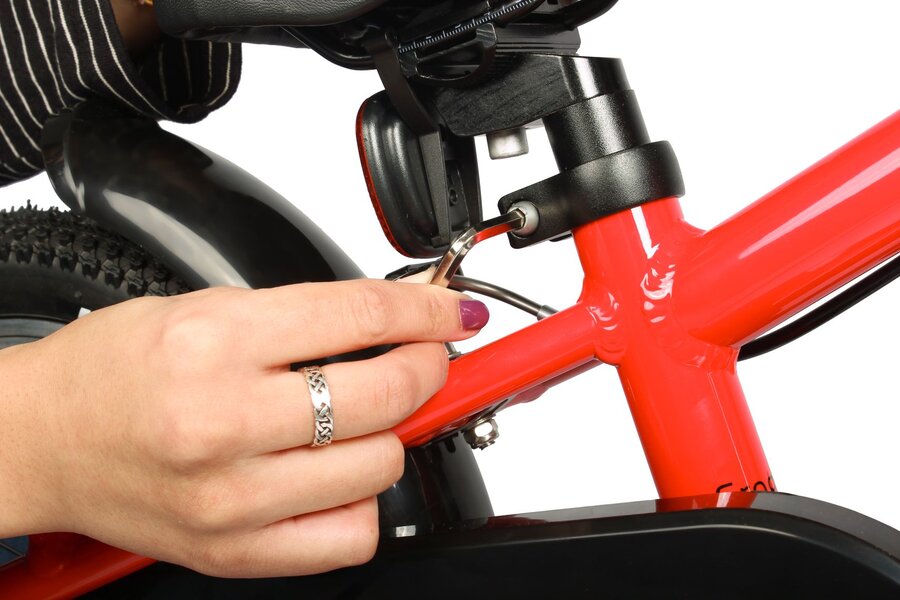
5: Set your saddle height
Adjust the saddle height to a level that provides a comfortable riding position. We recommend that feet be flat on the ground for beginners and on tip-toes for more confident riders. Finding the right height is essential to an efficient and comfortable ride. Take note of the maximum saddle height marking, the saddle must not be raised higher than this mark to ensure rider safety.
6: Check brake operation
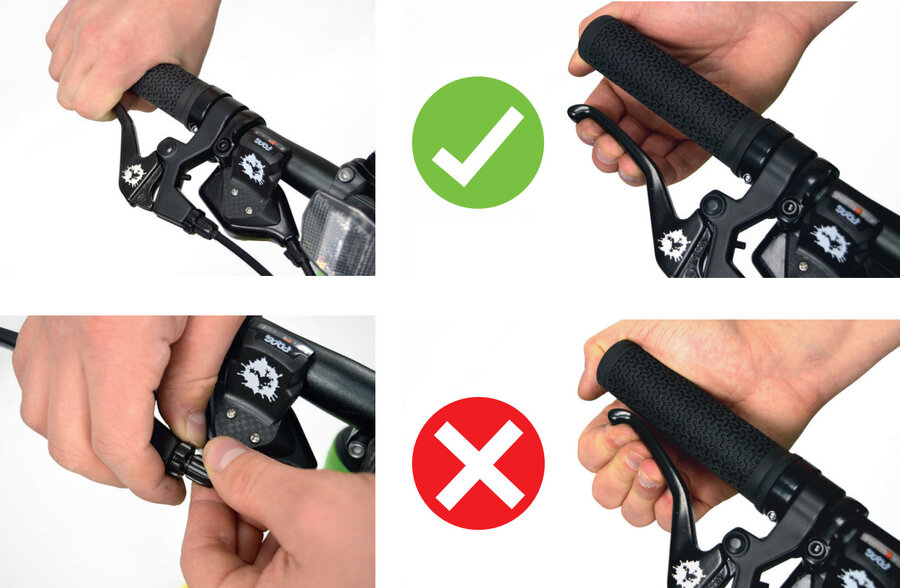
Check the operation of the brakes before allowing the child to ride the bike. The brakes should feel firm and not pull to the bar. You can fine-tune the braking by adjusting the barrel adjuster positioned on the brake lever (as shown in the bottom left picture). Simply loosen or tighten it for precise control over your brakes.
Align the handlebar to the frame so that it’s straight. To ensure the forks are oriented in the right direction follow the forward pointing sticker that is positioned on the forks. Tighten the two hexagonal screws on the stem with the 5mm Allen key (as shown in step 3).
If further adjustment is required, see the Owners Manual for additional information.
7: Register your FREE 10-year warranty!
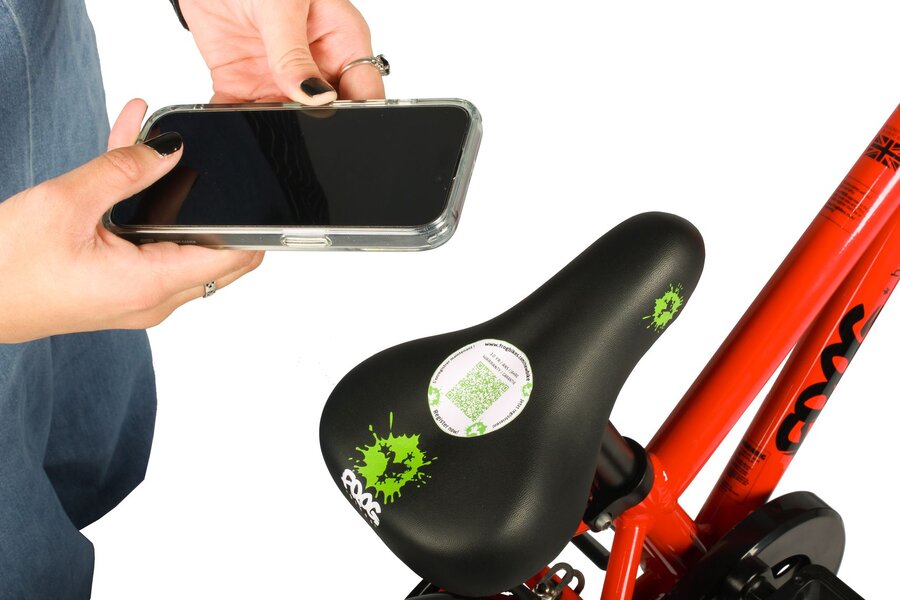
To safeguard your investment, we offer a free extended 10-year warranty on your Frog bike. Registering your bike is quick and easy. Simply locate the serial number (found on the bottom of the bike near where the cranks meet the frame) and add your details - that’s it!


